It is best practice to upload an electronic version of any paper documents you have for a Client in the event that you cannot get into the office for any reason. Follow the steps below to upload a Client File.
- Hover over the Managers tab in the navigation bar and select Client Manager from the drop-down.
|
- Select appropriate Client.
|
|
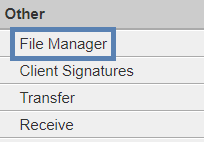
- Scroll down and click File Manager from the Other section of the left menu.
|
 |
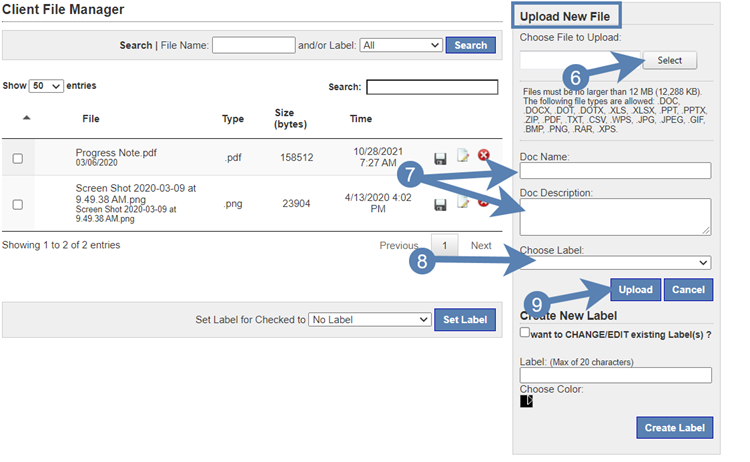
- Here you can access and search for any existing electronic documents for this Client.
|
- Use the Upload New File section to add a new document.
|
 |
-
Choose a File to Upload. The file should be in one of the file formats listed. Then click Select.
Important: Make sure you are protecting your clients PHI when uploading the documents.
|
- Enter the document Name and Description.
|
- Select a Label from the drop-down menu.
|
- Click Upload.
|
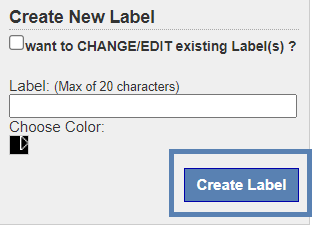
- To add a new label, use the Create New Label section. Include the title of the label, and Choose a Color (optional). Then click Create Label.
Note: Administrators are able to create the labels they would like their staff to use.
|
 |
- Once files are on a Client's Profile, you can access them at any time by either clicking on an individual client's name, or by hovering over the Managers tab, and selecting Client File Manager from the drop-down.
Note: You can access Client Files for multiple clients on the Client File Manager page.
|
