Permissions: You must have Billing Permissions.
Think of your notes or assessments as the main ingredients for billing. Before following the steps below, take time to ensure that you have everything prepped so that you can efficiently go through the following steps so that your claims will successfully bill out of ShareNote.
It is best practice to bill notes that have been signed and locked; however, notes can be billed in any status.
Step One: Pull Notes or Assessments
- Hover over the Note Center tab in the navigation bar, and open the appropriate Note Center from the drop-down.
Note: If you are marking Assessments as billable you will follow the same steps below, but start by selecting Assessments & Docs from the Note Center tab in the navigation bar.
|
- Select your date range. This range should end three to four days prior to the current date as there could be staff that are documenting on the current day.
Note: Write down or note this date range as you will use it at different times during this process.
|
- Locate the Billing Status drop-down, and select Unassigned from the list.
|
 |
- Scroll down and click Show Notes.
|
 |
Step Two: Mark Notes as Billable
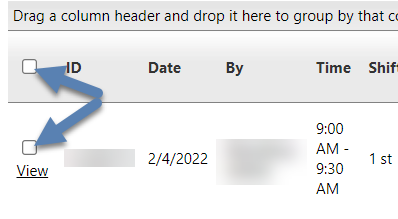
-
Check the box for individual notes, or check the box at the top to select all.
|
|
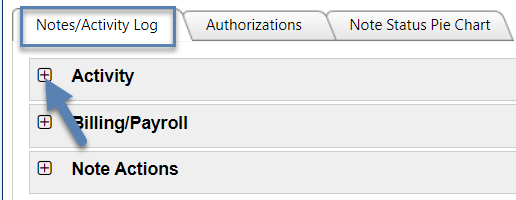
- Scroll up to the Notes/Activity Log tab and expand the Activity box.
|
|
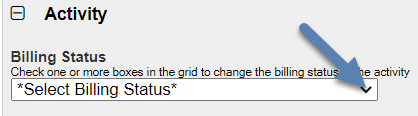
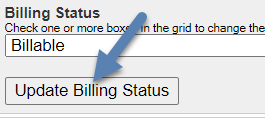
- Select Billable from the Billing Status drop-down.
|
|
- Click Update Billing Status. The note(s) in the list will disappear after you clicking Update Billing Status, but they were not deleted, there is just another step to do.
|
 |
- Scroll back up to the Advanced Filters, and change the Billing Status from Unassigned to Billable.
|
 |
- Click Show Notes. The note(s) that you marked as billable will now reappear in the list with their updated status.
|
 |
- You are now ready to bill.
|
